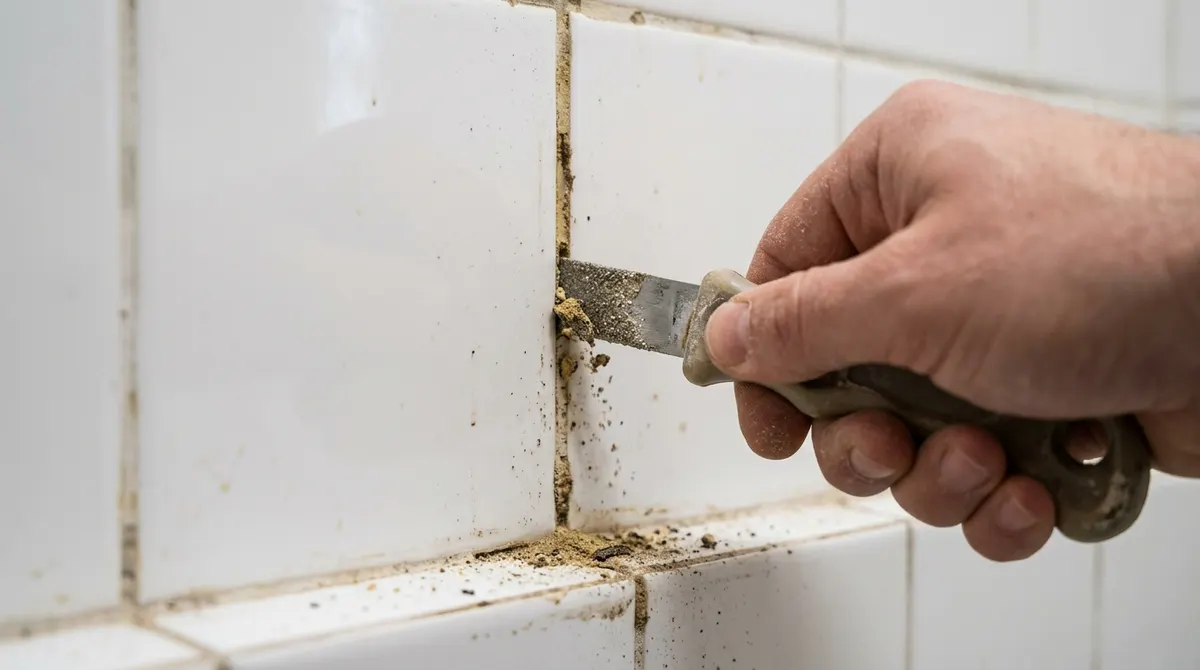
To regrout tile, remove the old grout to at least two-thirds of the joint depth with a grout saw or oscillating tool, vacuum the joints, pack in new grout with a rubber float held at 45 degrees, wipe the haze with a damp sponge, let it cure (usually 24–72 hours), then seal it. A bathroom floor or shower wall is a realistic weekend project and costs far less than retiling.
When Should You Regrout?
- Grout is cracked, crumbling or missing in spots
- Stains or mildew won’t clean out (try cleaning bathroom tiles first)
- Water is getting behind shower tile
- You want to change the grout color
If tiles themselves are loose or sound hollow, regrouting won’t fix it—the tiles need resetting.
Tools and Materials
- Manual grout saw, carbide scraper or oscillating multi-tool with grout blade
- Shop vacuum
- Grout (sanded or unsanded—see table), bucket and margin trowel
- Rubber grout float and two large grout sponges
- Microfiber cloths, penetrating grout sealer
- Safety glasses, dust mask, gloves
Which Grout to Use
| Grout type | Best for | Notes |
|---|---|---|
| Unsanded | Joints 1/8 inch or narrower, polished stone | Smooth, won’t scratch delicate tile |
| Sanded | Joints wider than 1/8 inch, floors | Stronger, resists shrinking and cracking |
| Epoxy | Showers, kitchens, high-stain areas | Stain resistant, no sealing; works fast and is harder to apply |
| Premixed urethane/acrylic | Small repairs, beginners | No mixing; usually no sealing needed |
Use our grout calculator below to estimate how much you need.
How to Regrout Tile Step by Step
- Clean the tile. Remove soap scum and mildew so you can see the joints.
- Remove old grout. Cut down the center of each joint, then work toward the edges. Aim for at least two-thirds of the depth. Go slowly near tile edges to avoid chips.
- Vacuum and wipe. Dust left in joints weakens the bond. Wipe with a damp sponge and let dry.
- Mix grout. Mix only what you can use in about 30 minutes, to a peanut-butter consistency. Let it slake (rest) as the bag directs, then remix.
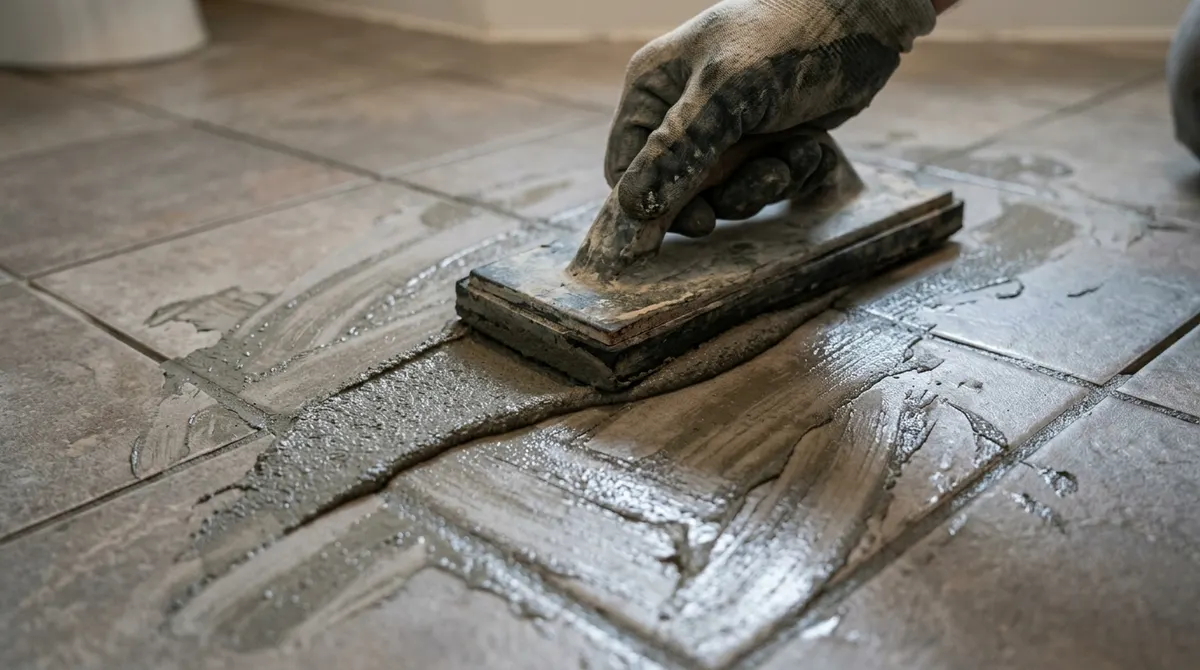
- Pack the joints. Hold the float at 45 degrees and push grout diagonally across the joints, filling them completely.
- Remove excess. Hold the float nearly upright and scrape diagonally to clear the tile faces.
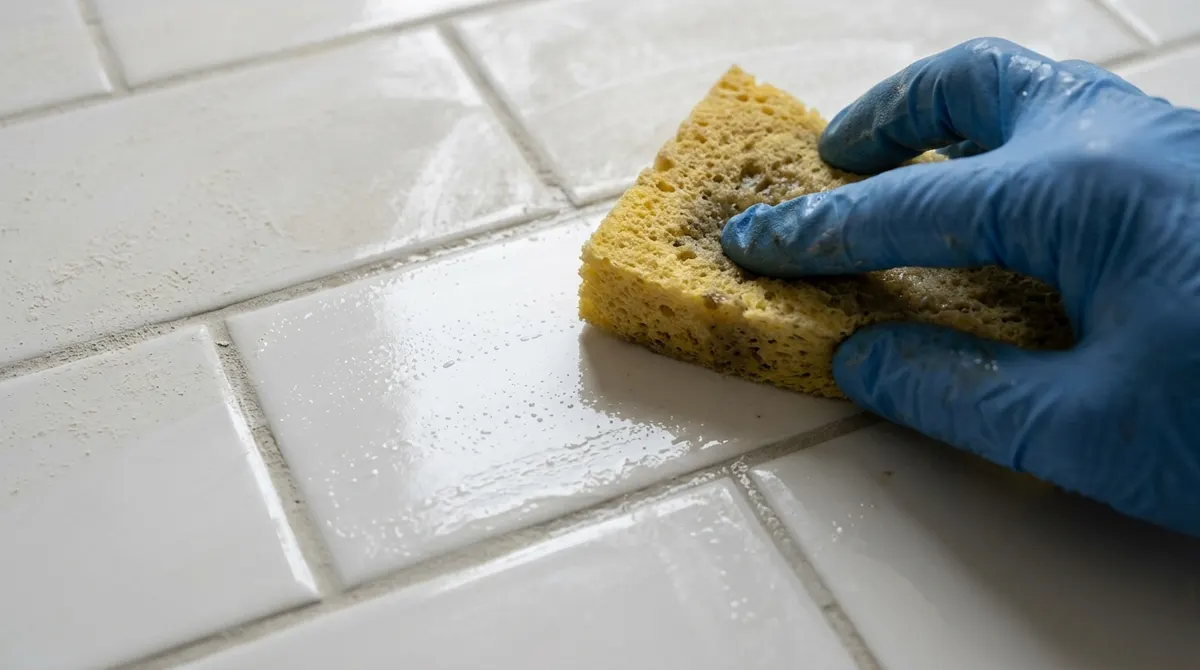
- Sponge. After 15–30 minutes, wipe with a barely damp sponge in circles, rinsing often. Don’t drag grout out of the joints.
- Buff haze. Once dry, buff the remaining film with a microfiber cloth.
- Cure. Keep the area dry for the time on the bag—often 24–72 hours for showers.
- Seal. Apply penetrating sealer to cement grout after full cure, wiping excess off the tile.
Tip: In showers, don’t grout the corners or where tile meets the tub. Those change-of-plane joints should be filled with matching silicone caulk so they can flex without cracking.
Regrouting vs Grout Pens and Overlays
Pros of regrouting
- Fixes cracked and missing grout properly
- Lets you change grout color for good
- Much cheaper than retiling
Cons
- Grout removal is slow and dusty
- Risk of chipping tile edges
- Shower is out of use for a few days
Frequently Asked Questions
Can you put new grout over old grout?
Not directly in a thin layer—it flakes off. Remove at least two-thirds of the old grout so the new grout has enough depth to bond.
How long does regrouting take?
A small bathroom floor or tub surround usually takes a full day of work, plus 1–3 days of curing before heavy use and sealing.
How long before I can shower after regrouting?
Follow the grout label. Many cement grouts need about 72 hours before getting wet; some rapid-setting grouts allow use in 24 hours.
Do I need to seal new grout?
Cement-based grout should be sealed after it cures to resist stains and moisture. Epoxy and most premixed urethane grouts don’t need sealer.
What’s the fastest way to remove grout?
An oscillating multi-tool with a carbide grout blade is fastest. Keep it centered in the joint and finish edges by hand.