To plaster a wall, clean and prime the surface (bonding agent on old plaster or painted walls), mix finishing plaster to a smooth yogurt-like consistency, then apply two thin coats about 2 mm each with a steel trowel—the second coat once the first is firm but tacky. Finish by troweling the surface smooth as it sets, then let it dry fully before painting. On drywall in the U.S., the same idea is called a skim coat and is usually done with joint compound.
Tools and Materials
- Finishing plaster (or setting-type/premixed joint compound for drywall skim coats)
- PVA bonding agent or plaster primer
- Steel plastering trowel (11–14 in.) and a hawk
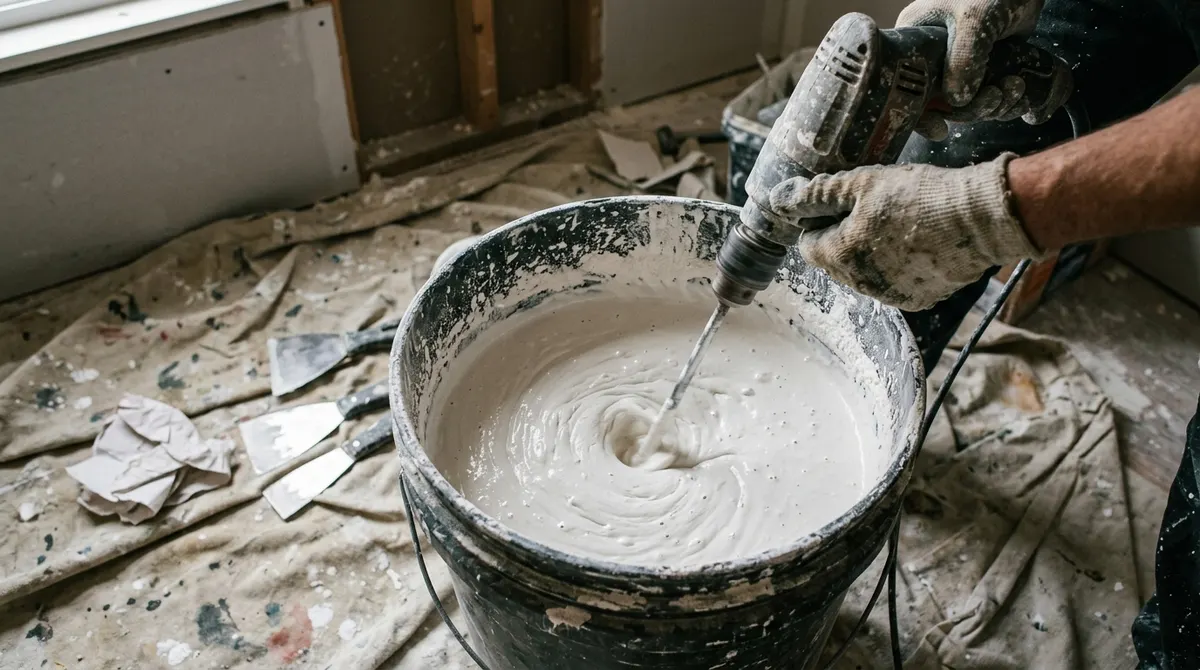
- Two clean buckets, drill with mixing paddle
- Water spray bottle and a wide brush
- Drop cloths, painter’s tape, dust mask and safety glasses
Plaster vs Joint Compound
| Finishing plaster | Joint compound skim coat | |
|---|---|---|
| Best for | Plaster walls, full re-skims | Drywall, patching, smoothing texture |
| Working time | Short—sets chemically | Long (premixed) or set by type (20–90 min) |
| Coat thickness | About 2–3 mm per coat | Very thin, 1/16 in. or less |
| Sanding | Troweled smooth, little sanding | Light sanding between coats |
| Skill level | Moderate–high | Beginner friendly |
Step-by-Step: How to Plaster a Wall
1. Prepare the Wall
Remove outlet covers (turn off the circuit first), scrape loose paint and old plaster, fill deep holes, and tape the edges. Brush on a PVA bonding agent diluted per the label; apply plaster when it is tacky. Fresh drywall just needs a coat of primer.
2. Mix the Plaster
Pour clean cold water into a bucket to about one-third full, then add plaster while mixing with the paddle until it is smooth and lump-free. Clean tools between batches—old plaster speeds up setting.
3. Apply the First Coat
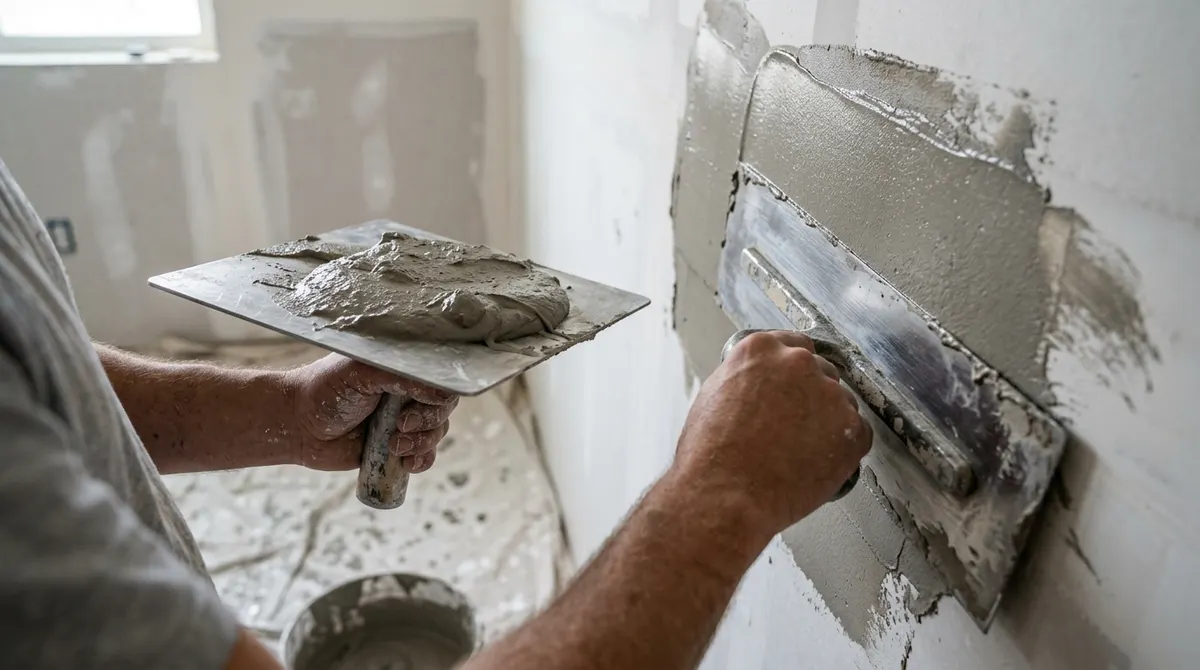
- Load plaster onto the hawk, cut a trowelful and start at a bottom corner.
- Spread in upward arcs, keeping the trowel’s leading edge slightly lifted.
- Aim for an even 2 mm coat; don’t chase small lines yet.
- Work across the wall in sections and flatten the coat lightly once covered.
4. Apply the Second Coat
When the first coat is firm but still slightly tacky (often 15–20 minutes), apply a second thin coat the same way to fill low spots.
5. Trowel and Polish
As the plaster stiffens, go over it with a clean trowel and a light mist of water, pressing harder each pass to close holes and remove lines. Stop when the surface is smooth and has a slight sheen.
6. Dry and Paint
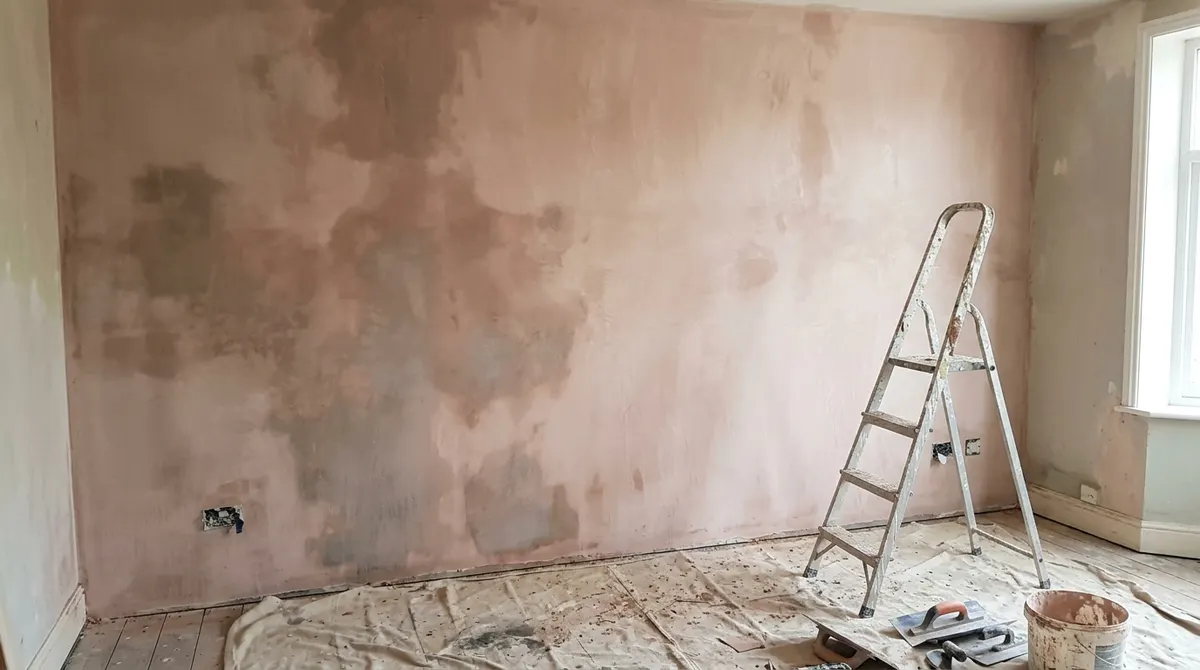
Let plaster dry fully—usually several days to a week depending on thickness, heat and humidity—until the color is even. Seal it with a mist coat (watered-down emulsion) before painting. Joint compound skim coats usually dry in about 24 hours per coat.
DIY Plastering
Pros
- Smooth, durable, high-quality finish
- Hides old cracks and textures
- Materials are inexpensive
Cons
- Steep learning curve and short working time
- Messy job that needs good prep
- Large walls are faster for a pro
Before drilling into the finished wall, find framing with how to find a stud in the wall. Working overhead too? See how to texture a ceiling.