A steady yellow (amber) light on a garage door sensor usually means that sensor is the sending unit and it has power—that is normal. The problem is when the other sensor’s green light is off or blinking, or the yellow light flickers: that points to misalignment, a blocked beam, a dirty lens or a wiring fault, and the door will refuse to close. Most fixes take a few minutes with a cloth and a level.
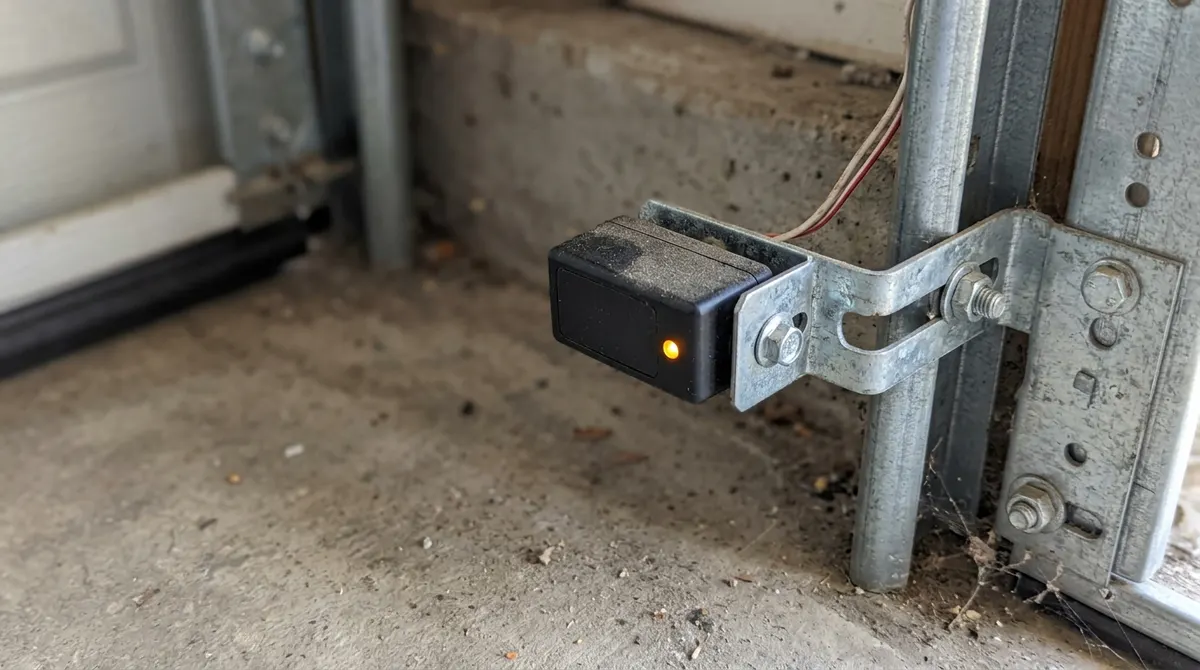
What the Sensor Lights Mean
| What you see | Likely meaning | What to do |
|---|---|---|
| Yellow steady, green steady | Normal—beam is connected | Nothing; door should close |
| Yellow steady, green off | Beam blocked or sensors misaligned | Clear path, realign receiving sensor |
| Yellow or green blinking | Partial alignment, dirty lens or sun glare | Clean lenses, tighten brackets, shade sensor |
| Both lights off | No power or broken wire | Check opener power and wire connections |
| Yellow off, green on | Sending sensor fault or loose wire | Check terminal screws and wire splices |
Colors are brand-specific. Many LiftMaster and Chamberlain models use amber for the sender and green for the receiver; other brands may use red or green on both. Your opener manual is the final word.
How to Fix a Garage Sensor Problem
1. Clear the Beam Path
Move trash cans, boxes, bikes, leaves and spider webs from between the sensors. Even a hanging cord can break the invisible infrared beam.
2. Clean the Lenses
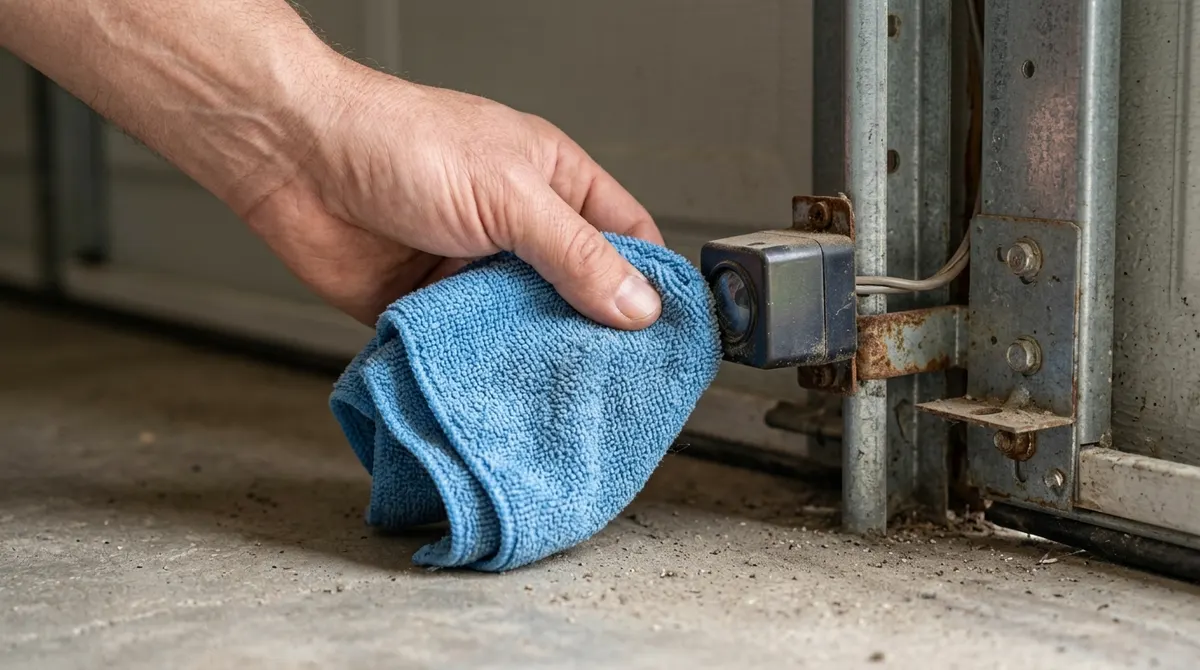
Wipe each lens gently with a dry microfiber cloth. Avoid glass cleaner that can leave a film.
3. Realign the Sensors
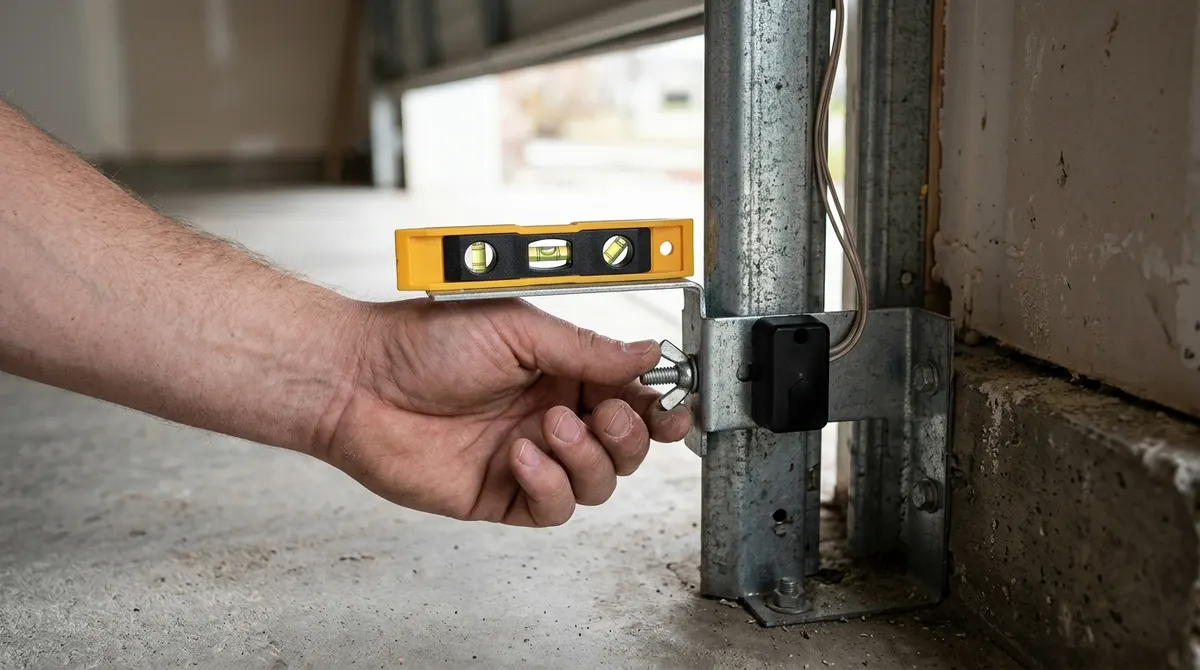
- Loosen the wing nut or bracket screw on the sensor with the dim or blinking light.
- Point both sensors straight at each other at the same height—usually no more than 6 inches above the floor.
- Use a small level or a string line between them to check.
- Adjust until both lights are steady, then tighten the bracket.
4. Check Wiring and Power
Follow the thin low-voltage wire from each sensor to the opener. Look for staples pinching the wire, chewed insulation or loose terminal screws. Unplug the opener before touching the terminals. If the opener itself has no power, check the outlet and breaker.
5. Block Sunlight
Low morning or evening sun shining into the receiving sensor can blind it. Swap the sensors side to side (if your brand allows) or add a small shade tube.
DIY Sensor Repair
Pros
- Most sensor issues are free to fix
- Only basic tools needed
- Restores a critical safety feature
Cons
- Wire faults can be hard to trace
- Damaged sensors need replacement (often $30–$80 a pair)
- Logic board faults need a pro
For a full step-by-step alignment walkthrough, read how to align garage door sensors. If you just replaced a remote, see how to program a Chamberlain garage door opener.