The LiftMaster learn button is a small square button on the back or side of the motor unit, usually next to the antenna wire and under the light lens. Press and release it once to add a remote (you have 30 seconds), or press and hold it for about 6 seconds until the LED goes out to erase every remote and keypad from the opener’s memory. That 6-second hold is the “reset” most people need after losing a remote or moving into a new house; afterwards you reprogram each device you want to keep.
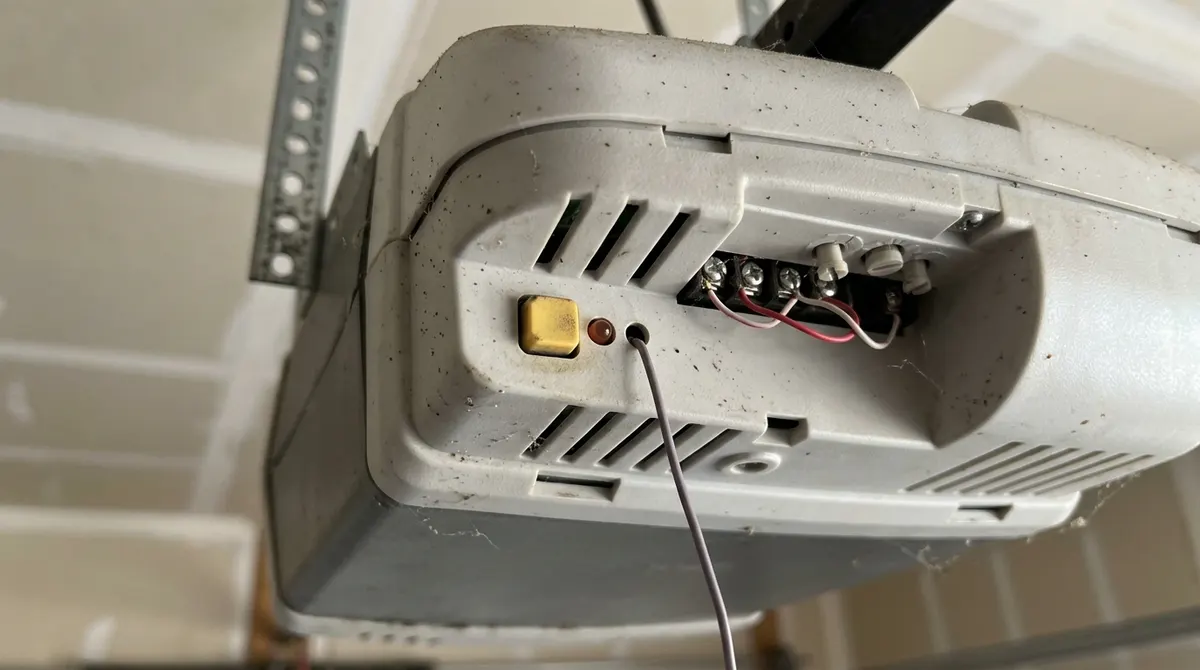
Where to Find the Learn Button
- Back panel of most chain and belt drive units, beside the antenna wire and terminal screws
- Under the light lens on some models—remove the lens to see it
- Side of the motor head on wall-mount (jackshaft) openers, next to the logic board cover
- Look for a small LED right beside it; the button itself is often colored
What the Learn Button Color Means
The button color tells you which radio technology the opener uses, and which remotes will work with it.
| Button color | Approx. years | Technology | Compatible remotes |
|---|---|---|---|
| Yellow | 2011–present | Security+ 2.0 | Yellow learn-button remotes, many universal remotes |
| Purple | 2005–2011 | 315 MHz Security+ | Purple-button remotes |
| Red / orange | 1997–2005 | 390 MHz Security+ | Red/orange-button remotes |
| Green | 1993–1997 | 390 MHz billion code | Green-button remotes |
| No button (DIP switches) | Before 1993 | Fixed code | Match the switch pattern |
How to Reset a LiftMaster Opener (Erase All Remotes)
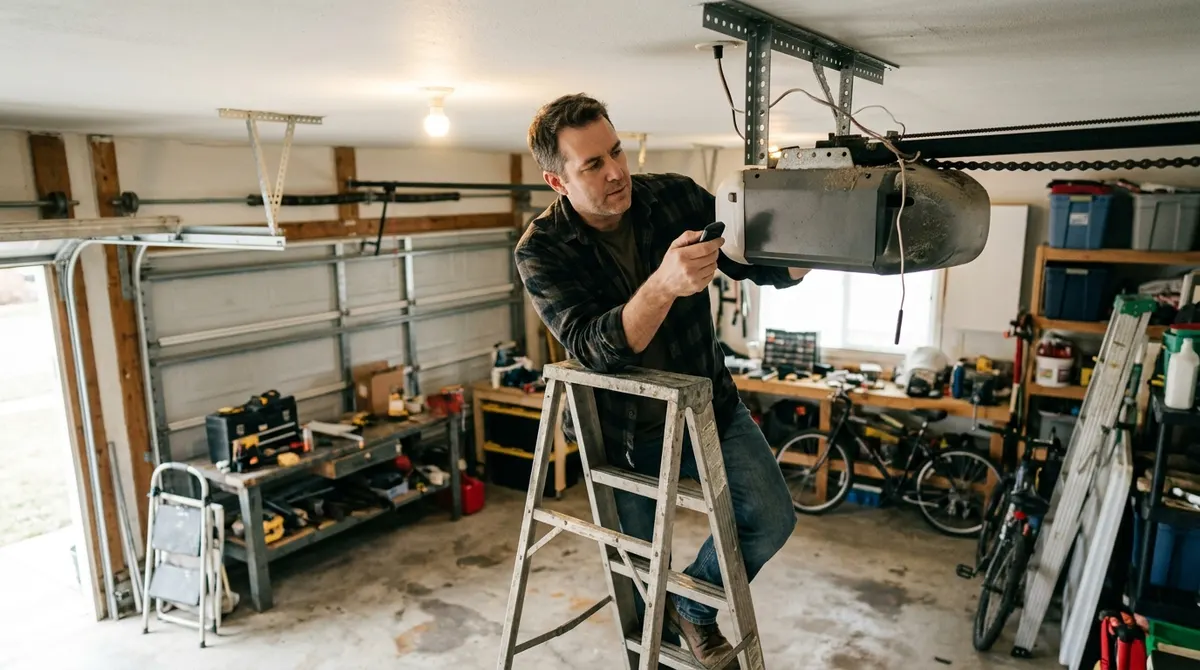
- Stand on a sturdy ladder and locate the learn button and LED.
- Press and hold the learn button for about 6 seconds.
- Release when the learn LED goes out. All remote and keypad codes are now erased.
- Reprogram every remote and keypad you still use (steps below).
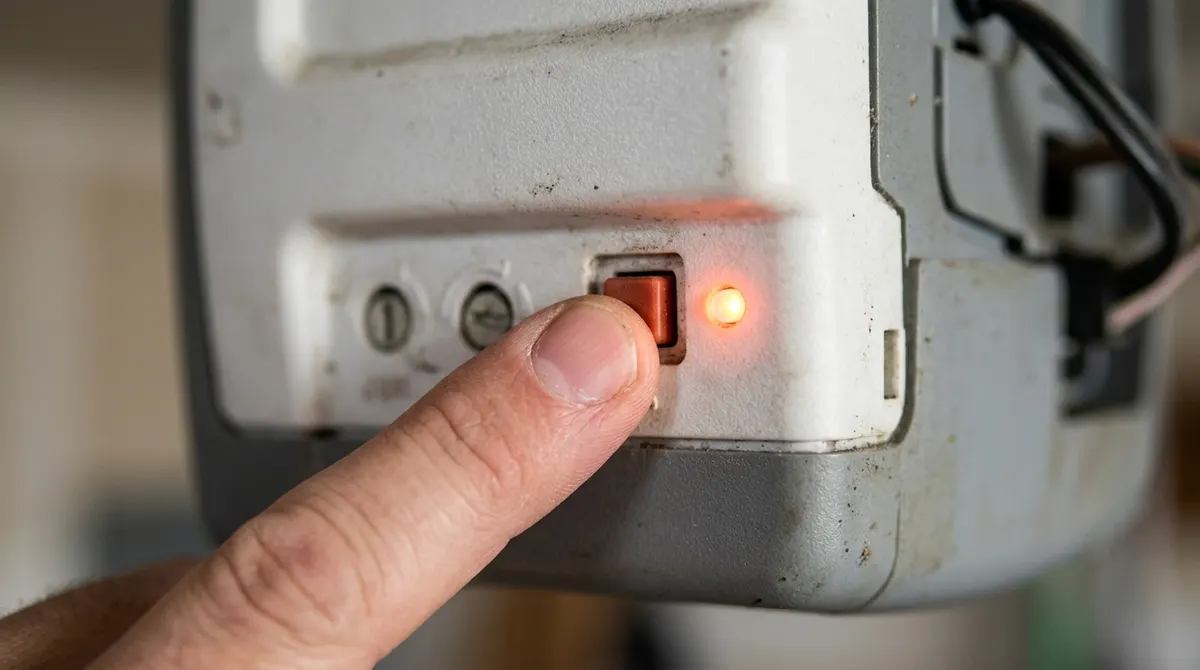
Reprogram a Remote With the Learn Button
- Press and release the learn button. The LED glows steadily for about 30 seconds.
- Within that window, press and hold the remote button you want to use.
- Release when the opener lights blink or you hear two clicks.
- Press the remote button again to test. Repeat for each remote.
For keypads, press and release learn, then enter your 4-digit PIN on the keypad and press Enter. For full remote, keypad and car setup see how to program a garage door opener.
Other Kinds of “Reset”
Reset the Travel Limits
If the door stops short or reverses on the floor, the limits need adjusting. Newer units have up/down arrow buttons on the motor; press and hold the adjust button until it flashes, move the door to the desired open and close points with the arrows, and confirm. Older models use limit screws turned with a screwdriver.
Power Cycle
Unplug the opener for about a minute and plug it back in. This clears minor electronic glitches but does not erase remotes.
Lock Mode
If remotes stop working but the wall button works, the wall control’s lock may be on. Hold the lock button for about 2 seconds to turn it off.
If resetting doesn’t help, work through LiftMaster garage door opener not working and check the safety sensors.
Learn Button Reset: Pros and Cons
Pros
- Locks out lost or unknown remotes in seconds
- No tools or service call needed
- Fixes many “remote won’t work” problems
Cons
- Erases every remote, keypad and car link at once
- Requires a ladder
- Won’t fix sensor, spring or motor faults