To align garage door sensors, loosen the wing nut or screw on the sensor bracket, gently pivot the sensor until its indicator light glows steady (not blinking), then tighten it. Repeat on the other side so both LEDs are solid. Clean the lenses, make sure nothing blocks the beam, and test the door. Most misalignment happens when a sensor gets bumped by a car, bike, or broom.
How Garage Door Sensors Work
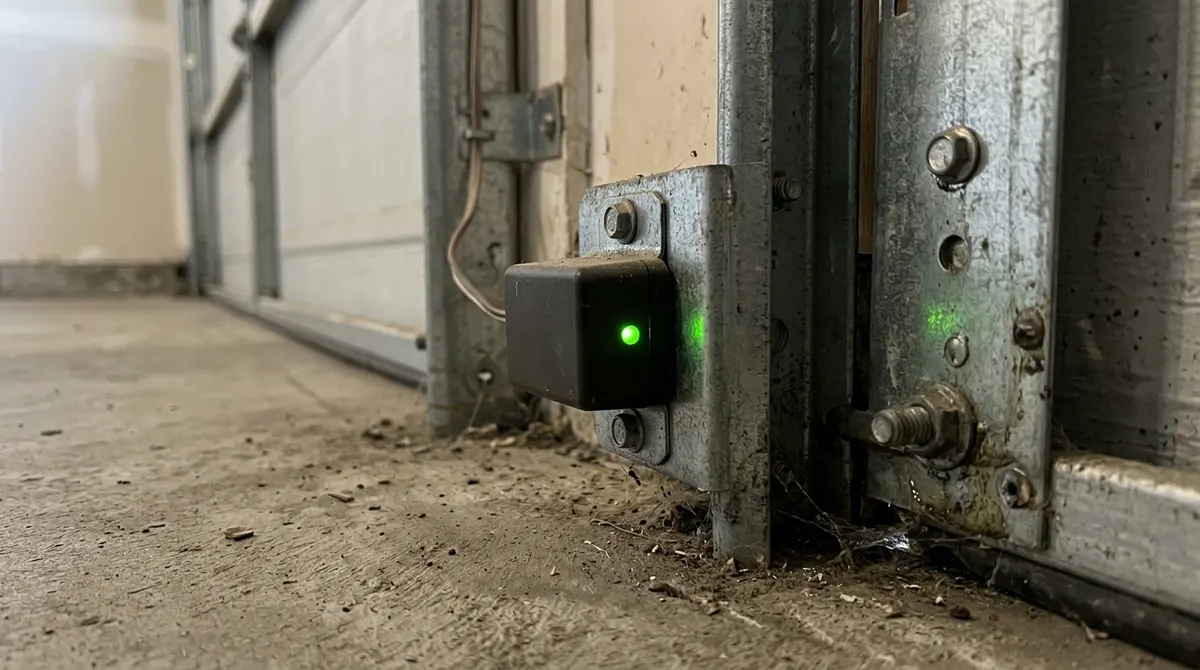
Two photo-eye sensors sit on each side of the door, about 6 inches above the floor. One sends an invisible beam and the other receives it. If the beam is broken while the door is closing, the opener reverses the door to prevent injury. If the sensors can’t see each other, the door won’t close with the remote at all, and the opener lights may flash.
Read the Indicator Lights
| Light | Usually means |
|---|---|
| Both lights steady | Aligned and working |
| Receiving light blinking or off | Misaligned, blocked, or dirty lens |
| Both lights off | No power—check wiring or the opener |
Colors vary by brand (often amber on the sending side and green on the receiving side).
How to Align Garage Door Sensors Step by Step
- Clear the path and remove anything between the sensors.
- Clean the lenses with a soft, dry cloth.
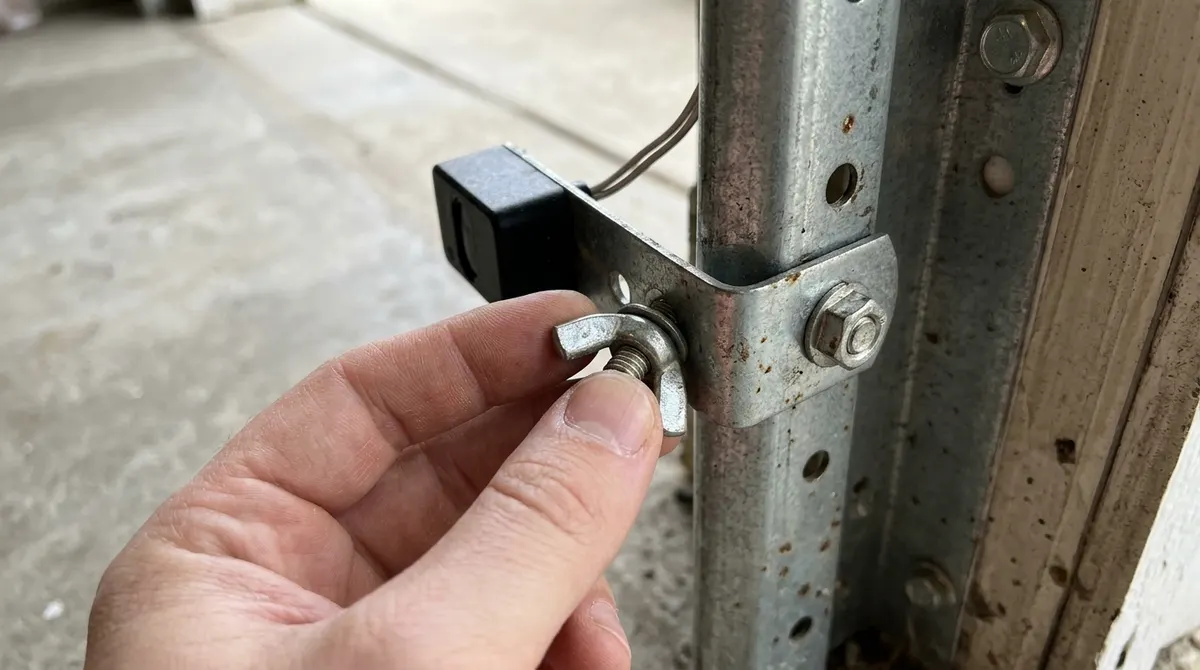
- Loosen the bracket wing nut or screw on the sensor with a blinking or off light.
- Pivot slowly up, down, left, or right until the light becomes steady.
- Tighten the bracket without moving the sensor.
- Check both sides—both LEDs should be solid.
- Test by closing the door and waving a broom handle through the beam; the door should reverse.
Trick: Use a String Line
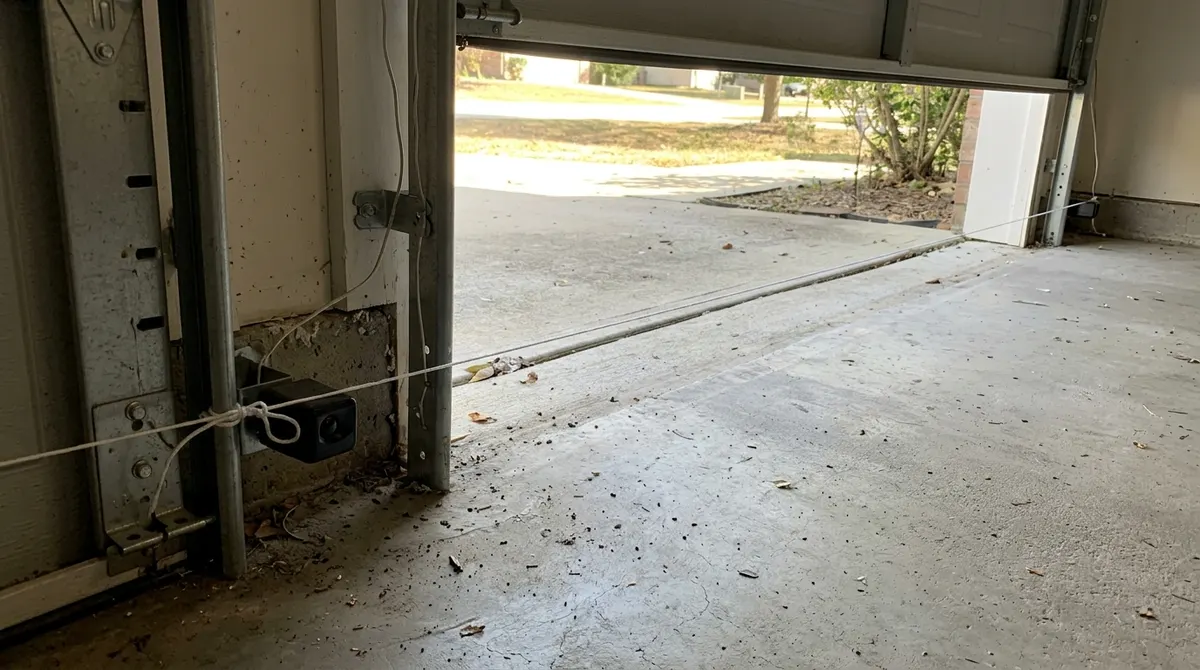
Tie a string to the center of one sensor lens, stretch it tight to the other, and adjust both until the string touches each lens center. Check the string with a level so the sensors are at the same height.
Other Causes If Alignment Doesn’t Fix It
- Damaged or loose wires (check the staples and connections at the opener)
- Spider webs or insects inside the sensor housing
- Bent brackets
- Moisture inside the sensor
- A failed sensor—replacement pairs are inexpensive
DIY vs Calling a Technician
Pros
- Alignment takes minutes and no special tools
- Cleaning and re-tightening often fixes it
- Replacement sensors are easy to swap
Cons
- Wiring faults can be hard to trace
- Springs, cables or track problems need a pro
- Never bypass or disable sensors—they’re a safety device