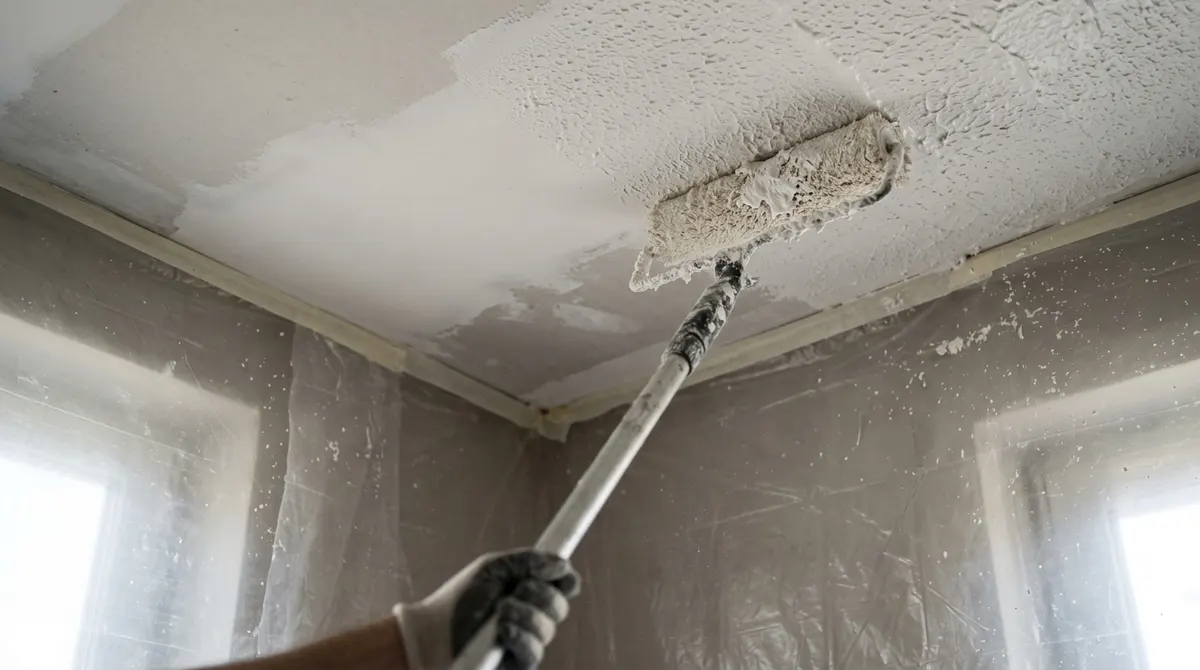
To texture a ceiling, clean and prime the surface, mix drywall joint compound with water to a pancake-batter consistency, apply it with a thick-nap roller, sprayer or brush, then shape the pattern (stipple, knockdown, swirl or orange peel) while it’s wet. Let it dry for 24 hours, then prime and paint. A roller-applied texture is the easiest DIY method; spray texture gives a more uniform orange peel or popcorn finish.
Before you start: If your home was built before the 1980s and has an existing popcorn ceiling, have it tested for asbestos before sanding or scraping.
What You’ll Need
- All-purpose or lightweight joint compound (or bagged ceiling texture)
- Drill with a paddle mixer and a 5-gallon bucket
- 3/4″–1″ nap roller, extension pole and paint tray
- Knockdown knife (12″–18″) or wide drywall knife
- Stipple brush or texture brush (optional)
- Plastic sheeting, painter’s tape, drop cloths
- Drywall primer, ceiling paint, safety glasses
Common Ceiling Texture Types
| Texture | How it’s made | Difficulty |
|---|---|---|
| Roller stipple | Thick nap roller leaves peaks | Easy |
| Knockdown | Spray or roll, then flatten peaks with a knife | Moderate |
| Orange peel | Thin compound sprayed with a hopper gun | Moderate |
| Swirl / sand swirl | Brush in overlapping arcs | Moderate |
| Popcorn | Sprayed acoustic aggregate | Moderate (sprayer needed) |
| Stomp / crow’s foot | Stomp brush pressed into compound | Easy |
See more styles in our guide to ceiling texture types.
How to Texture a Ceiling Step by Step
- Prep the room. Remove furniture, cover the floor, tape plastic to the top of the walls, and turn off and cover light fixtures and fans.
- Repair and clean. Fill cracks and holes, sand smooth, and wipe off dust.
- Prime. Apply a coat of drywall primer so the texture bonds evenly and dries at the same rate.
- Mix the compound. Thin joint compound with water until it’s like thick pancake batter for rolling, or thinner for spraying. Mix well to remove lumps.
- Test first. Practice on a scrap of drywall or cardboard to dial in thickness and pattern.
- Apply in sections. Work in 4×4-ft areas, rolling or spraying an even layer and keeping a wet edge.
- Create the pattern. Stipple with the roller, press a stomp brush, or wait 10–15 minutes and lightly drag a knockdown knife over the peaks.
- Let it dry. Allow about 24 hours (longer in humid weather).
- Prime and paint. Use a thick-nap roller so paint reaches into the texture.
Knockdown Texture Technique
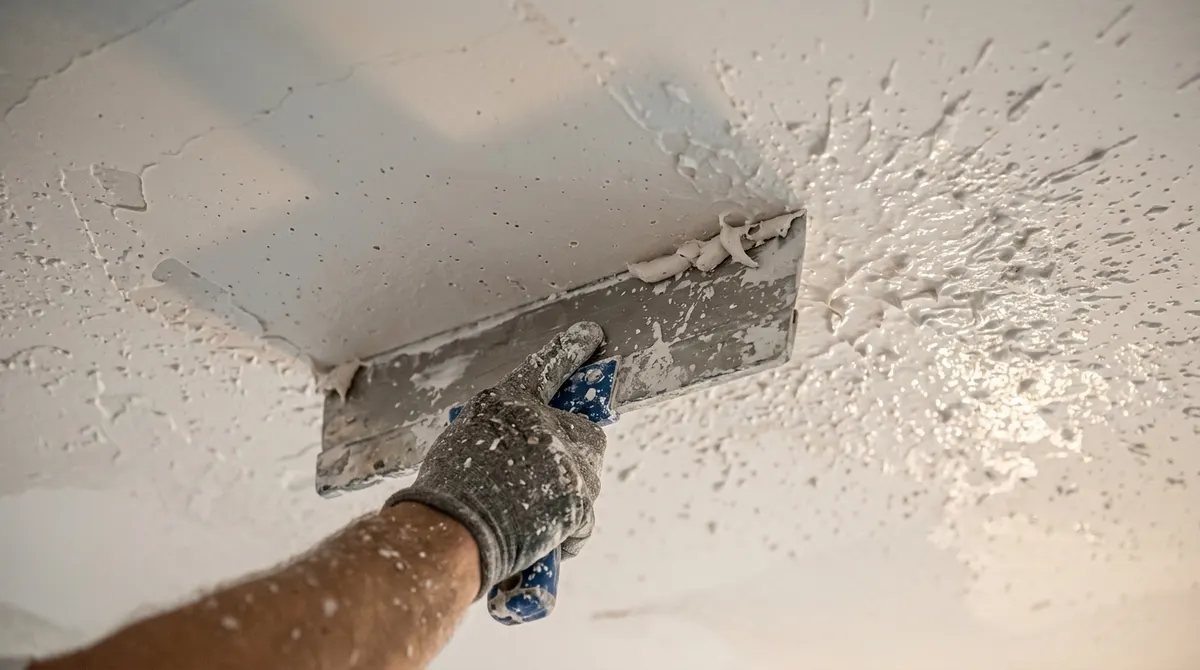
Spray or roll on splatters of thin compound, wait until the shine fades, then skim the knife lightly across the surface with almost no pressure. Clean the blade often and change direction randomly for a natural look.
Roller vs Spray Texture
Pros
- Rolling needs only basic tools
- Easy to match or patch later
- Hides minor drywall flaws
Cons
- Messy—needs full room protection
- Hard to remove once painted
- Spraying needs a hopper gun and compressor
Frequently Asked Questions
What is the easiest way to texture a ceiling?
Rolling thinned joint compound on with a thick-nap roller is the easiest method for beginners and needs no sprayer.
Do I need to prime before texturing a ceiling?
Yes. Primer seals the drywall so the texture sticks evenly and dries without flashing or cracking.
Can you texture over a painted ceiling?
Yes, as long as it’s clean and sound. Scuff glossy paint and apply a bonding primer first.
How long does ceiling texture take to dry?
Usually about 24 hours before painting, though thick textures or humid rooms may need longer.
How much joint compound do I need for a ceiling?
As a rough guide, a 4.5-gallon bucket of premixed compound covers about 200–400 sq ft of rolled texture, depending on thickness.