To replace a door handle, remove the two screws on the inside rose, pull both halves of the old handle out, unscrew and remove the old latch, then fit the new latch, slide in the new handle halves, and tighten the screws evenly. Most interior door handles can be replaced in about 15 minutes with a screwdriver and a tape measure—no special skills needed.
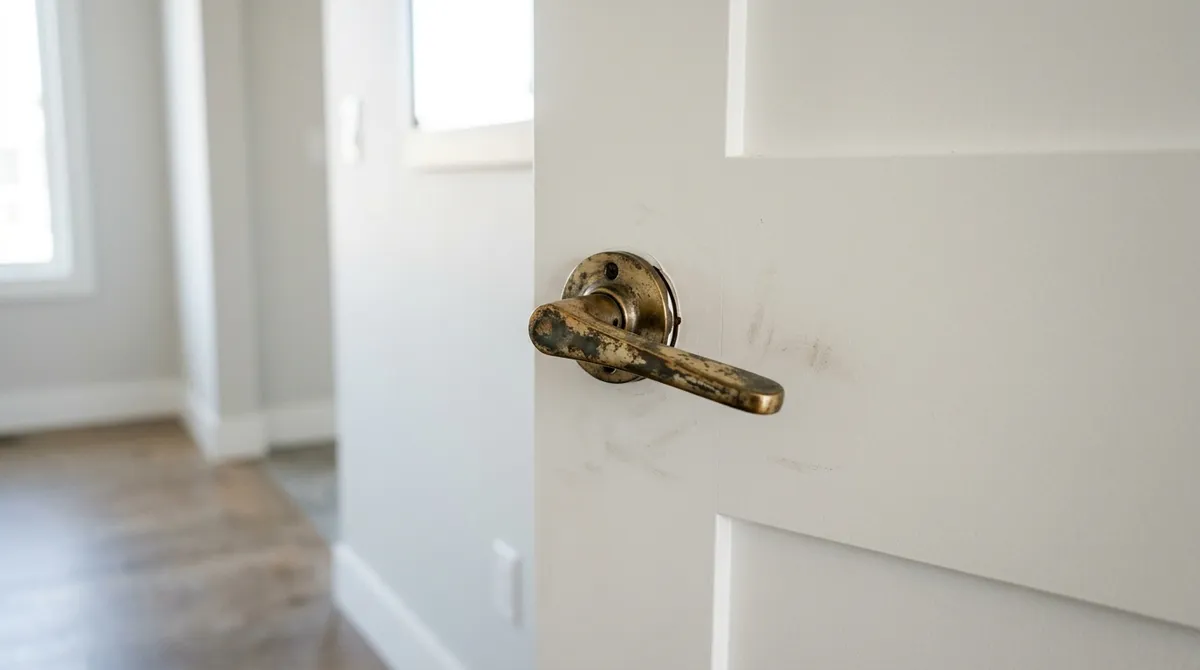
Watch: How to Replace a Door Handle (1:22)
Tools and Materials You’ll Need
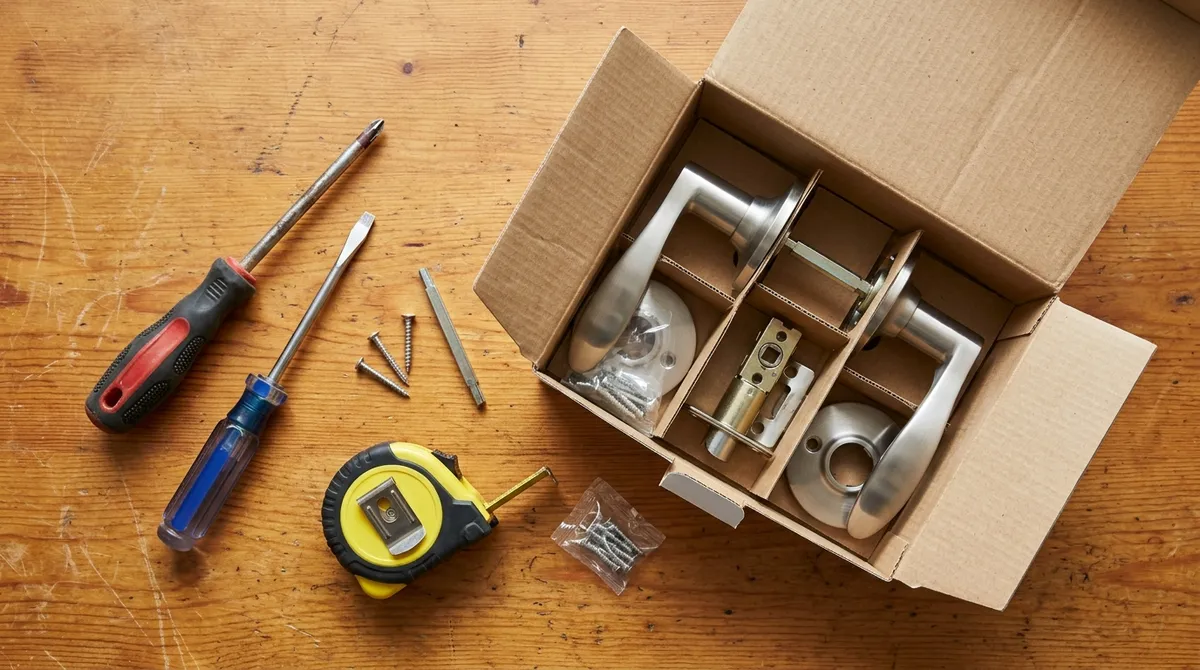
- Phillips screwdriver
- Flathead screwdriver (handy for prying off covers)
- Tape measure
- New door handle set (handles, latch, and screws are usually included)
- Optional: a pencil and a chisel if the new latch plate is a different size
Step 1: Measure the Backset

The backset is the distance from the edge of the door to the center of the handle hole. In the U.S. it is almost always 2-3/8 inches or 2-3/4 inches. Many new latches are adjustable to fit both, but check the box before you buy. Also note the door thickness—most interior doors are about 1-3/8 inches thick.
Step 2: Remove the Old Door Handle
- On the inside of the door, find the two screws on the rose (the round plate behind the handle). On some handles they’re hidden under a cover or the handle has a small release slot—press it with a flathead screwdriver.
- Unscrew both screws while holding the outer handle so it doesn’t drop.
- Pull both halves of the handle straight out of the door.
Step 3: Remove the Old Latch
On the edge of the door, remove the two screws holding the latch plate. Slide the latch out of the hole. If it’s stuck from paint, gently pry the plate with a flathead screwdriver.
Step 4: Install the New Latch
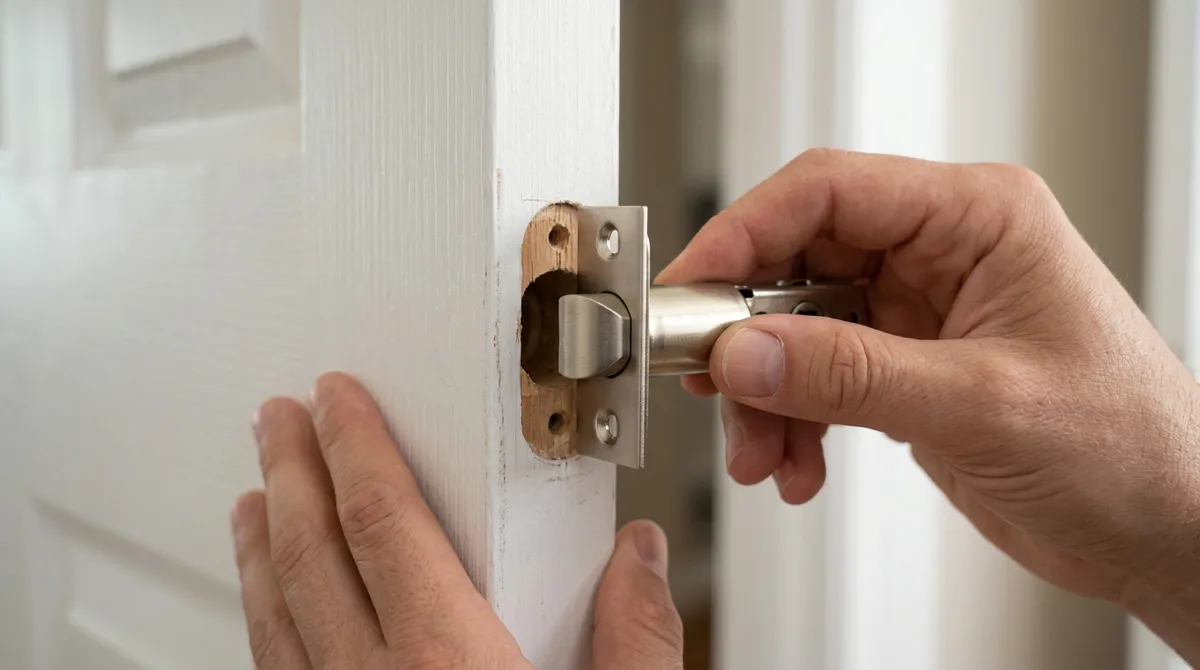
Slide the new latch into the edge hole with the angled side of the bolt facing the direction the door closes—the side that touches the door frame first. Screw the latch plate in so it sits flush with the door edge.
Step 5: Fit the New Handle
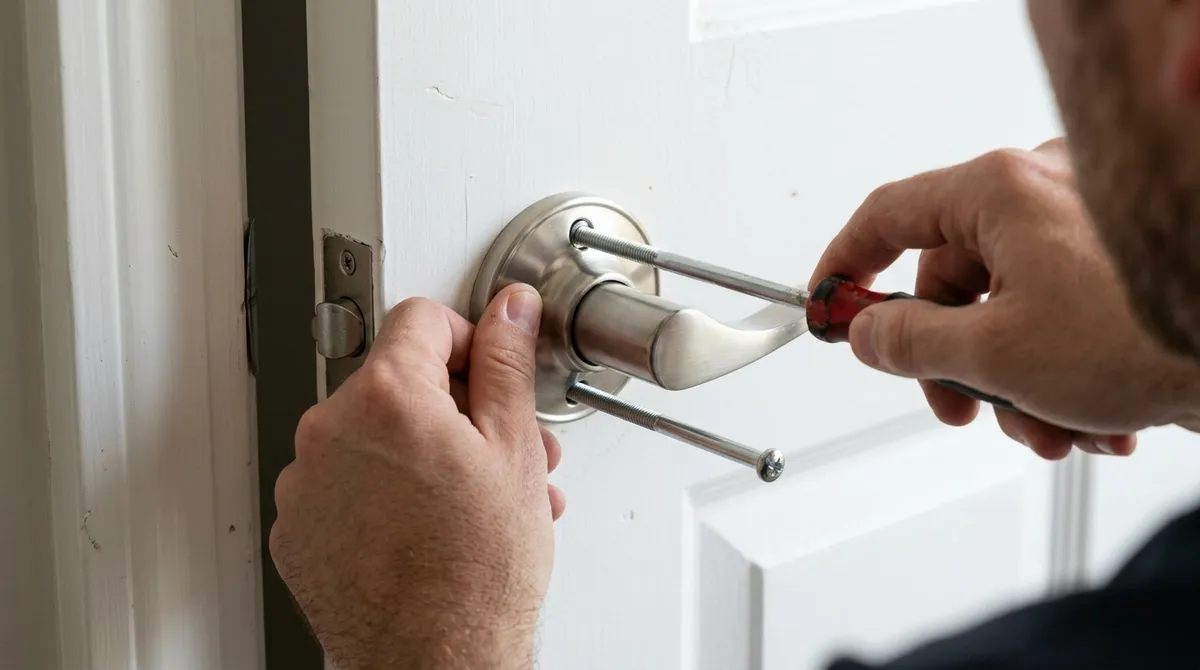
- Push the outer handle (the one with the spindle and screw posts) through the latch from the outside of the door.
- Fit the inner handle on the other side so the screw holes line up with the posts.
- Insert the two long screws and tighten them evenly, a little at a time on each side.
- Stop when the handle is firm—over-tightening can make the handle stiff or stop the latch from springing back.
Step 6: Test the Handle
With the door open, press the handle several times. The latch should pull back fully and spring out smoothly. Then close the door and make sure the latch catches in the strike plate on the frame. If it doesn’t line up, loosen the strike plate screws and adjust it slightly, or file the strike plate opening.
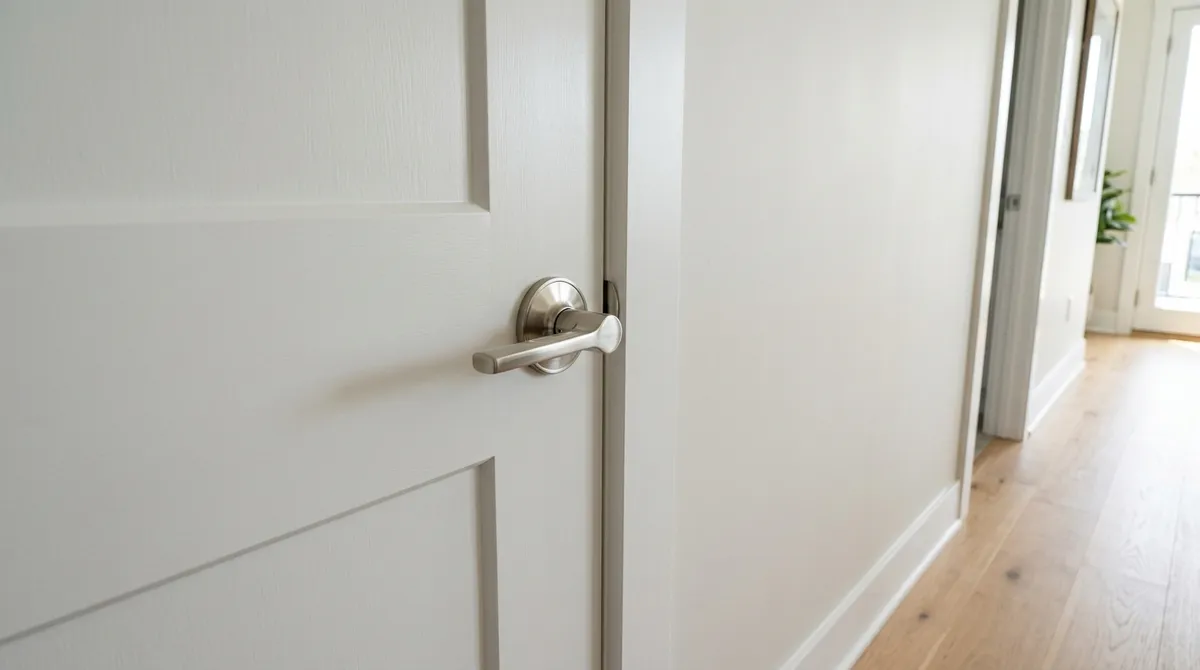
Lever Door Handle vs Door Knob: Which Should You Choose?
Pros
- Lever handles are easier to use with full hands, wet hands, or limited grip strength
- Accessible for children, older adults, and people with arthritis
- Modern look that suits most interiors
Cons
- Pets and small children can sometimes open lever doors
- Levers can catch clothing or bags
- Levers must match the door’s handing on some models
Common Problems and Fixes
- Handle feels loose: tighten the two rose screws; if they keep loosening, add a drop of removable thread-locker.
- Latch won’t spring back: the screws are over-tightened or the latch is upside down. Loosen slightly or flip the latch.
- Door won’t stay closed: the latch isn’t reaching the strike plate. Adjust the strike plate position.
- New handle doesn’t fit the hole: most interior doors use a 2-1/8 inch hole. If yours is smaller, enlarge it with a hole saw or choose a handle made for the existing size.